
Getting started
Get your first number
Choose a country, a region and a number, then start the subscription that comes with your first (primary) number.
Before you start
- A Second Phone account
- A payment method on your Apple or Google account
Steps
1Start from your Profile
Tap get a number on the Profile tab.
2Choose a country
The list starts with the most popular countries; search to find any other. Each one shows what its numbers can do: Calls, SMS, MMS. Pick the country you want a number in.
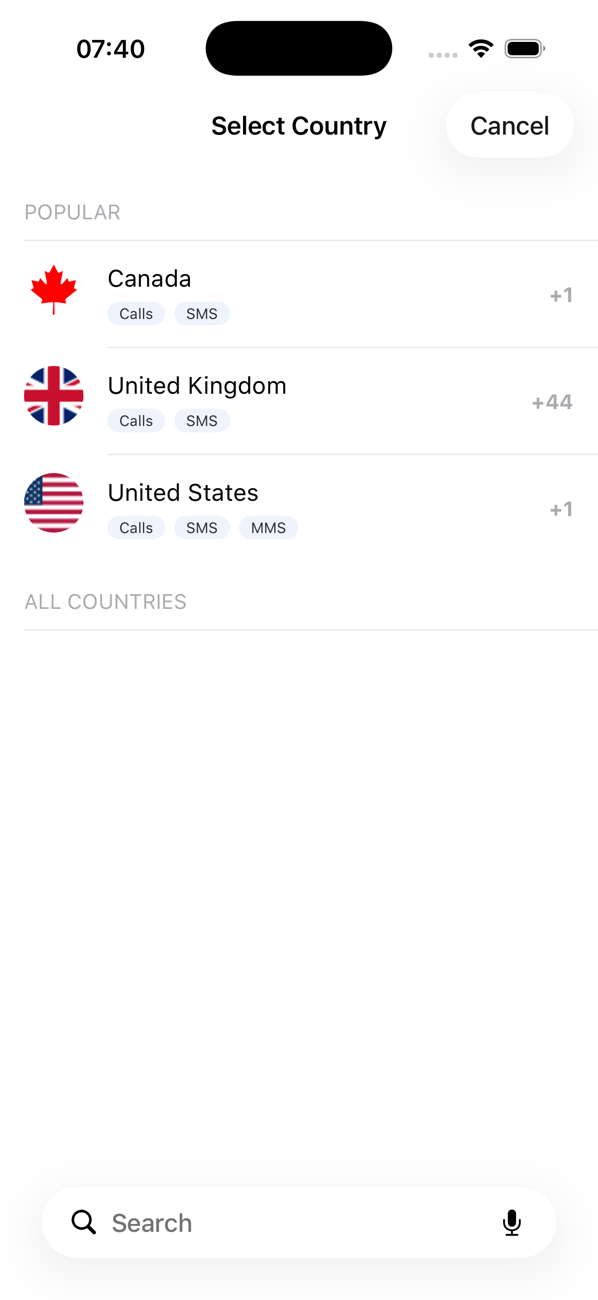
3Choose a region, where there is one
Countries with regional numbers ask for a state or region next. Pick one, or All Regions to see everything. Mobile numbers are not tied to a region.
4Pick your number
Scroll the list and tap the number you like. Numbers are shown in the country's own format; a Premium tag marks the ones that cost more. If the number is marked Address Required, the app asks for your address first, see Add the address a country requires.
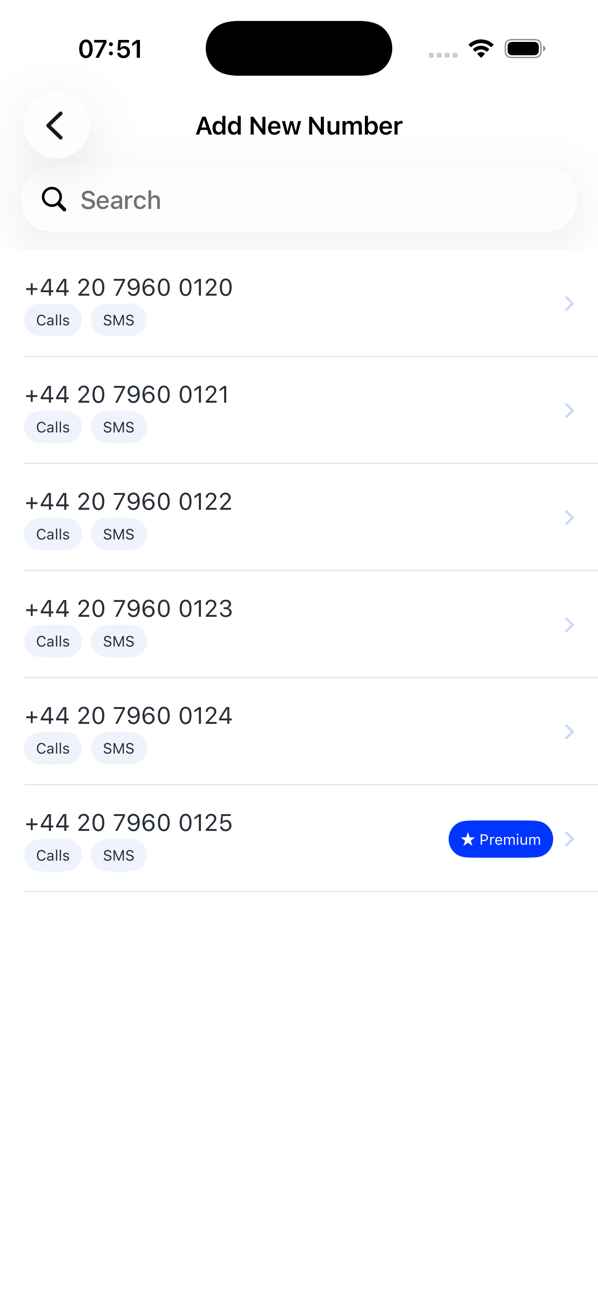
5Choose your plan
Your first number comes with a subscription. On iPhone choose Yearly (the best value, shown with its price per month), Monthly or Weekly; Android shows its own plans. Prices are for your region. Tap Subscribe and get Phone number and confirm with Face ID, Touch ID or your Google account.
6Your number is ready
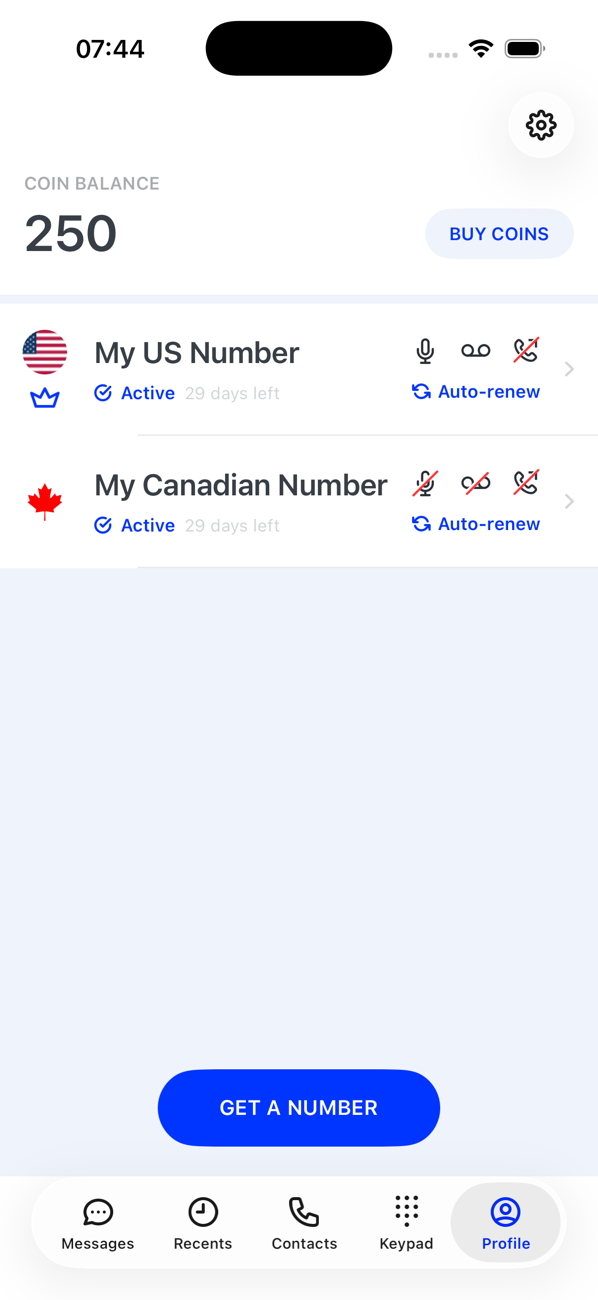
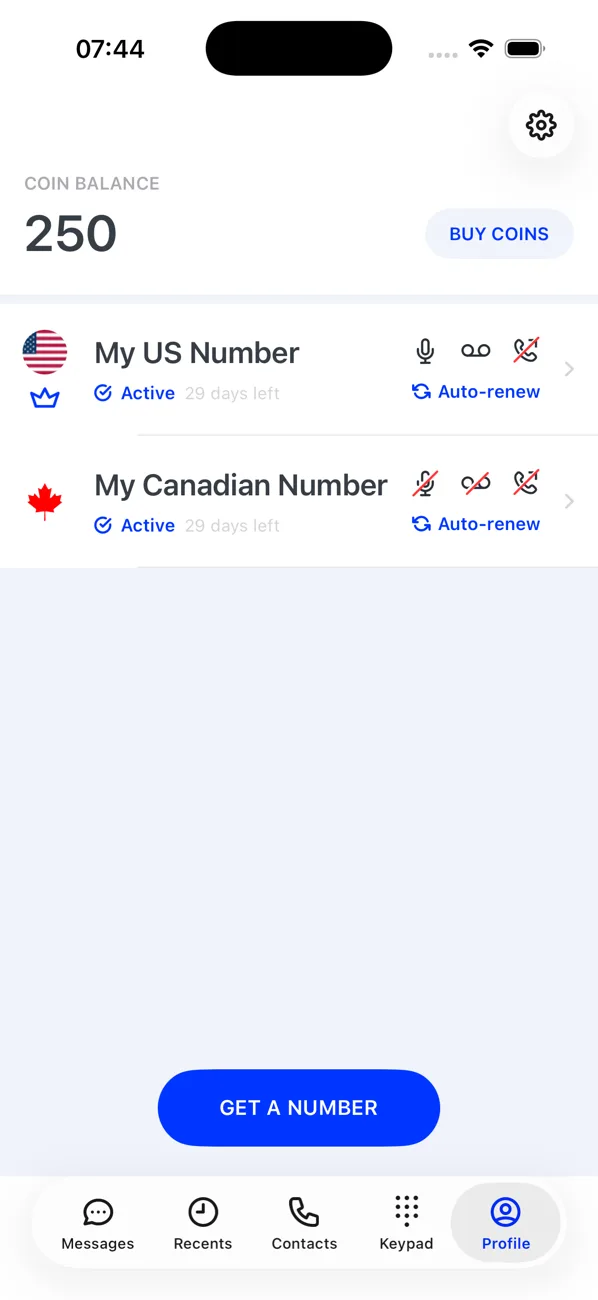
Back on your Profile the number appears with a crown, meaning it is your primary number, its status Active and the days remaining. Messages, Keypad and Recents are now live.


Good to know
- Already subscribed on another phone? Tap Restore on the subscription screen instead of buying again.
- If you close the subscription screen, the app offers to get the same number with coins instead.
- The subscription renews automatically through your Apple or Google account until you cancel it there.